How to create a security role and provide access in Dynamics 365 CE
Here in the his post you will come to know below concepts.
- Create custom security role
- Create custom entity
- Provide permission and privileges
Follow the steps to complete the task.
Step 1- Create a Security Role
login to D365 and go to setting.
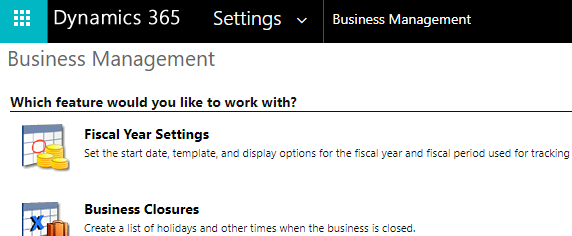
Here Click on settings and go to security.
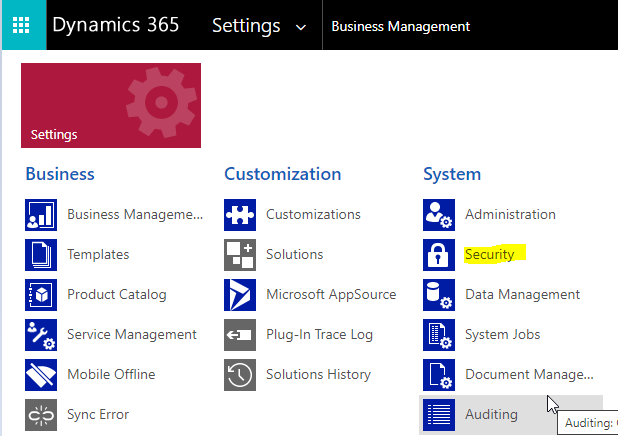
Next click on Security Roles
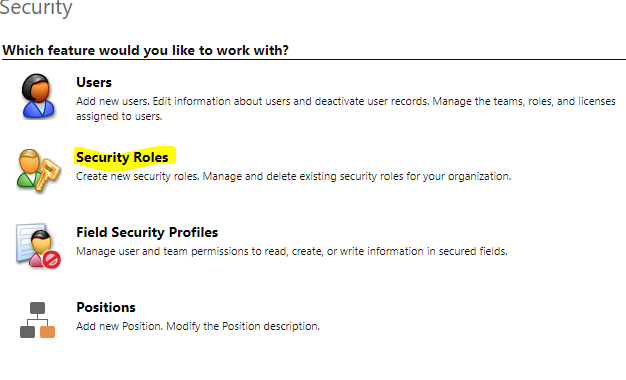
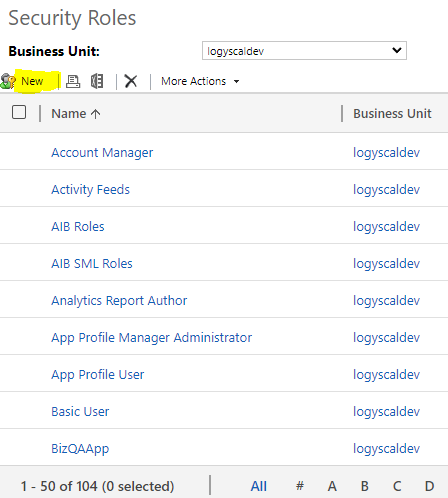
- here we can see the list of the different system security roles.
- To create new security role click on New .
- view the configurations of any system security roles double‑click on the name.
after clicking on new first give Role Name.
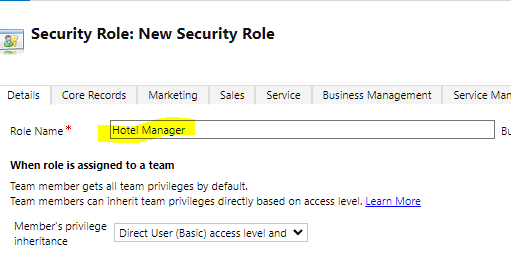
- A security role defines how different users, such as Hotel Manager, sales person, access different types of records.
- To control access to data, you can modify existing security roles, create new security roles, or change which security roles are assigned to each user.
- Each user can have multiple security roles.
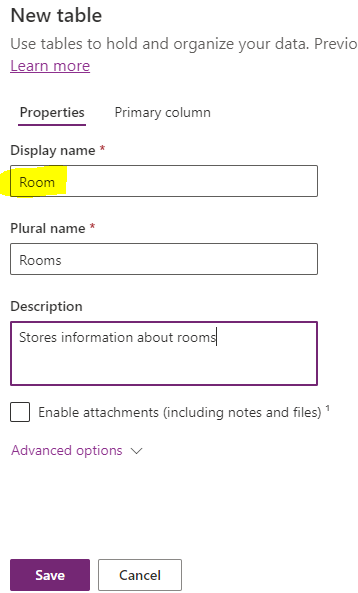
Step 2-Create custom entity
- Choose your environment.
- Go to Dataverse.
- Click on New table
Step 3 – Provide permission and privileges
Permission
Global
This access level gives a user access to all records in the organization. Users with Global access automatically get other accesses too – deep, local, basic, and so on.
The application refers to this access level as Organization.
Deep
This access level gives a user access to records in the user’s business unit and all business units subordinate to the user’s business unit.Deep access provides users with Basic and Local access.
The application refers to this access level as Parent: Child Business Units.
Local
This access level gives users with access to information in their business units. Local access also provides users with the Basic access.
The application refers to this access level as Business Unit.
Basic
Basic access provides a user with access to records that they own and manage. also its allows user to access the objects shared with them. This access level is typically provided to sales and service representatives.
The application refers to this access level as User.
None
None means No access is allowed to user to access information .
The application refers to this access level as None.
Privileges
Privileges are the basic security units that define the kind of action a user can perform in the platform. we can not add or delete. to use privileges we can modify only.
Create
- Create privileges allows a user to create a new record. A user can create a record depending on their access level.
Read
- Read privileges allows a user to read the contents of a record. A user can read a record depending on their access level.
Write
- Write privileges allows a user to make changes to a record. A user can edit a record depending on their access level.
Delete
- Delete privileges allows a user to delete a record permanently. A user can delete a record depending on their access level.
Append
- Append privileges allows a user to associate a current record with another.
Append To
- append To privileges allows a user to associate a record with the current record.
Assign
- Assign privileges allows a user to assign the ownership of a record to another user.
- user can assign a record depending on their access level.
Share
- Share privileges allows a user to give access to a record to another user while maintaining their own access intact.
- user can share a record depending on their access level.
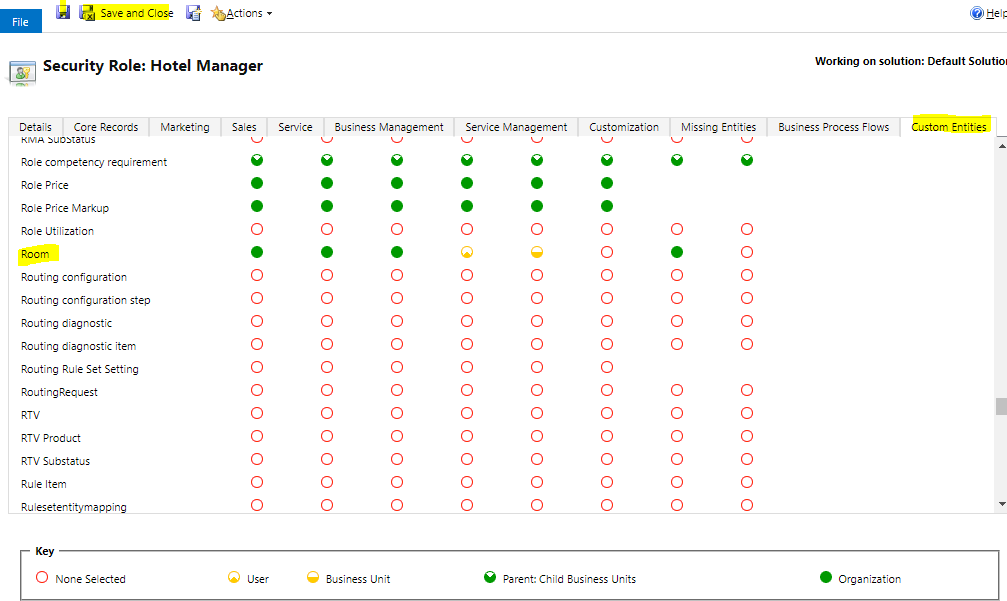
Here ,we can see Role and Custom Entities ,Role permission and privileges.
click save and close.